I was running through different topics to blog about next and it dawned on me that you haven’t gotten a chance to see any of the dollhouses that we have, and what we working on with them. So to start off before I get to showing you any more minis, I thought I might show you one of the houses that we are working on more right now, which is a renovation of the first dollhouse that I built.
I had started a Real Good Toys Beachside Bungalow in 2012, construction of the actual house was finished within the first couple years (As much as I enjoyed building it was hard to find the time to work on it), but actual decoration of the inside was put off till much later, unless you count the two different coats of paint I gave it…. and the glitter…..
Here’s some photos of the outside construction…

This was the first exterior color that was chosen… It ended up not matching well

This was the final color scheme chosen, and the rock work is on its way to being done.

Shingling the roof

The rock work in progress.

Prior to the doors and windows going in.

The roof almost done
The exterior decisions where relatively easy. The only major change that had to happen was the changing of the main exterior color, which changed prior to actual construstion. I had initially wanted to do it with much brighter colors, such as the purple that is in the first photo, but it never seemed to look right. Now part of that was due to the type of paint that I started with, which was just your basic flat acrylic craft paint. Since that type of paint usually has such a flat finish it didn’t show of the house as nicely and never really had a finished look. I then did a complete about face and switched to the white that it is now. The white paint is actually a semi-gloss house paint from Home Depot. I’ve found that using actual “big” house paint on the little houses has the nicest result in my opinion, and you can get the little sample cans mixed to whatever color you want and that little bit goes a very long way.
Now to the inside…

The bottom two rooms prior to being glittered

The top three rooms prior to being glittered

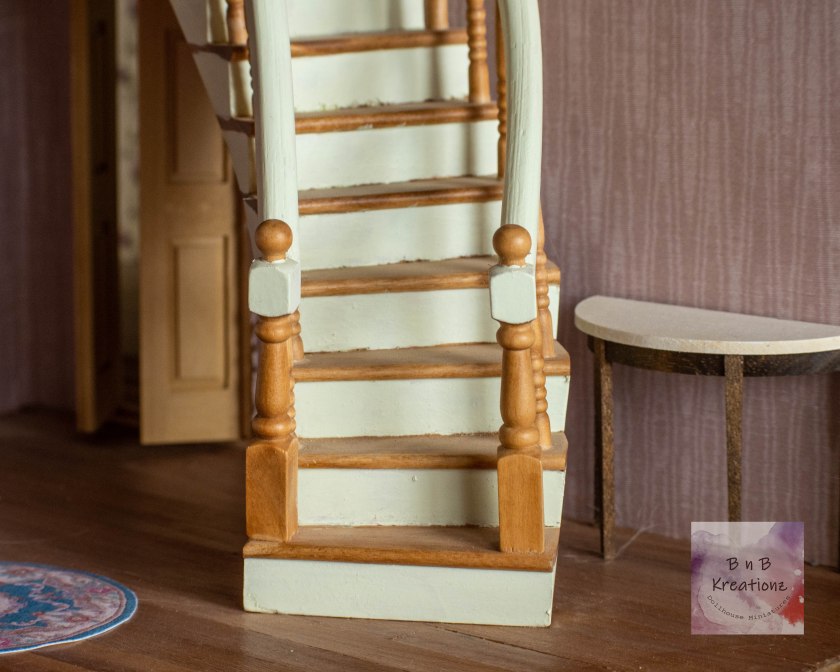
I had to include a photo of the stairs in and this was the best I had

This is the glittered mess I made and then had to fix
This house kit comes with built in wood floors that you can stain to your liking with non-penetrating stain… That was harder to find than you would think. This makes it easy if you don’t know what else to use or do, mind you I’ve completely hidden them now but to start with it made it feel more finished.
I had started with painting each room, I had never intended on wiring this one and to begin with wallpapering seemed very intimidating, and paint is always an easy way to go with most anything. Now you would have thought I would have learned from the outside but I didn’t fully yet, thankfully it made changing everything later easier, so the inside had all been done with craft paint again. After awhile I decided i didn’t like that either, that there was too much of a color difference and that it looked funky as a whole. I also decided it didn’t like the being able to see the wall and dormer seams, so i had to find a way to cover them… thus here comes the glitter. Now I’ve seen many a full-sized house with a heavy sheet-rock texture and I thought something like that would hide the seams and look pretty in the little house, and I wasn’t wrong but my initial application was less than desirable. I ended up mixing glitter in with acrylic gesso, and then applying the mixture to the wall, it did cover everything up like I wanted but it wasn’t the look T wanted. The question was now how do I fix the mess I had made of my little house…
We finally decided, last year, that the house had sat long enough uncompleted, and that we needed to finish it up. After some careful consideration to when the house would look most at home, we decided to place it into the mid-century, someplace in either the late 50’s or early 60’s. That time just kinda seemed to be the best fit for the little home’s construction style to us.
The first step was to get rid of some of the glitter, so I took to sanding the walls. I never did get all of it off, but it made the walls smoother and allowed me to apply wallpaper where I wanted.
The first room I changed was the front room, which is now the living room.

Sizing the wall

The fireplace final fitting

Painting

Adding carpet
The major decision we made was the brick was with the built in fireplace. I sized a piece of mat board to the wall and built the custom fireplace to fit the space, then all the bricking had to go on and be grouted. Before that was glued in though I repainted the walls with a off-white semi gloss paint sample, I had finally realizing the importance of using full sized house paint for everything. The carpet I added is a grey cloth that resembled a berber carpet in the miniature scale.
The next room was the kitchen and the stairway…

Deciding the new layout

Added the wall and starting the tile

Kitchen wallpaper in

Kitchen walls and ceiling

The staircase wallpaper

The stairs got their carpet
The biggest thing in the kitchen was realizing I wanted to close off the stairs from the rest of the kitchen. We added in the big black and white tile floor and the grey wallpapers to bring the bottom floors together, since we decided to leave the doorway as an archway between the two rooms to make them seem more open.
Now the bedroom…

The ceiling and walls are painted

The wallpaper and carpet are in
Now you can actually see what the glitter looks like after sanding in the first photo, but anyhow we went with a pick and grey color scheme in bedroom, with a paint and wallpaper mix. The same carpet we used in the living room went into the bedroom to add uniformity to the entire house and bring it all together.
The two side rooms are still in progress, but I don’t have any photos at the moment. The room on the left side is going to be a little hallway nook room, with the same grey wallpaper as the stairs and an oak veneer wood floor. The right room is going to have the same oak veneer wood floor and a different grey wallpaper.
It still needs furnishing and some little finishing details here and there, but it’s on its way to being done. Next time I show you this house, you’ll get to see the last two rooms and some of the furnishing.
Briana– Signing Off