While I was doing some shopping at our local Aldi’s I ran across a World’s Smallest Malibu Barbie House. I decided to pick two up, since they looked to be in scale for a Barbie and Barbie House in 1:12 scale. My though was that if they were I could leave one as is and see how hard it was to customize the other.

Once I got them home, I opened them up to see if my idea would work. The dolls themselves are exactly one inch tall and the dollhouse is four inches long, one and a half inches wide and three and a half inches tall. Which would make a perfect sized fashion doll and fashion doll dollhouse in 1:12 scale. The dollhouse comes with some cute stickers like a fashion doll dollhouse that you can use to decorate the dollhouse if you didn’t want to customize it. From the checklist it appears that the dollhouse comes in the white, yellow, and rust colored house as well as a multiple pink colored house. I was also able to find them for purchase online as well, if you don’t have an Aldi’s near you or yours doesn’t have them. Making this a great mini find.
Now onto the next part, can it be customized easily?
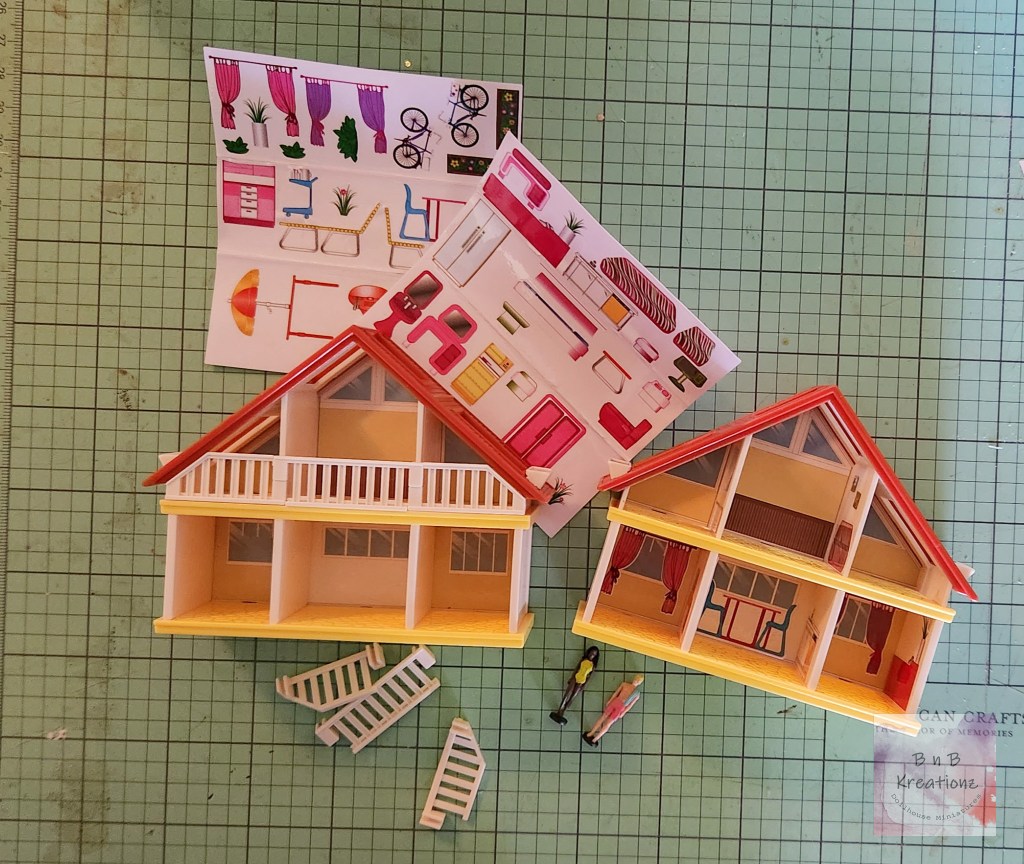
The thin card back easily pops off, which makes it a lot easier to access both the front and back of the dollhouse. I am hopeful that that will make customizing it easier. My plan is to use paint, wallpaper, and fabric to customize the dollhouse. In the coming weeks I am hoping to have it all fixed up and have another blog post about how it goes and how it turned out!!