Posted in Dollhouses, Mid Century Modern (Beachside Bungalow), Updates

Beachside Bungalow: Mid Century House Update

It is the start of 2019 and one of our goals is to finish this house. We started a renovation last year but didn’t quite get it finished. We are giving ourselves a deadline this time, I hope this helps to get it finished!

Last year we did get quite alot done as you can see in some of the pictures; although at the moment it’s the catch all for everything imaginable. Had to take a picture of this mess! I think first thing is to clear out everything that doesn’t belong.

We had yet to decide what the two smaller rooms upstairs should be so that needs to be given some thought. I was thinking a small library or reading room, a sewing room, a nursery or a small bedroom. Decisions, Decisions.

We are staying with the mid-century decorating style so be sure to check back weekly to see what items we may find to create and share as we go along. We plan on finishing by April 30th, lets hope we can do it!

Posted in Dollhouses, Sunshine Shop (Three Gables House), Updates

2018 Creating Contest Update

Here I am sitting by the toasty fire looking at our almost finished house for the hobby builders contest for 2018 ( miniatures.com). We have like 4 Days left to finish, and I think we are going to make it!

We started it last summer and thought we would have it done way ahead of time but procrastination and other projects kept it moving at a snails pace. Maybe we just like to work under pressure!

We changed our mind a couple of times on the look we wanted for the outside of the house but finally decided on brick and siding. I have to say I’m very tired of doing brickwork in miniature. It took me way longer than I had anticipated to glue all the tiny bricks onto the house. Then came the siding; this turned out to be a little more difficult than we thought. Once we got it figured out it did go fairly smoothly. I did have to call on my husbands help in a couple spots!

Brickwork on the back of the house
 A close up of the brickwork on the back of the house.
Siding on the 2018 Creating Contest house from Hobby Builders Supply/Miniatures.com
The siding going up on the contest house!

I have to say it’s looking good so far and I’m confident we are going to meet our deadline!

Posted in DIY's & How-To's, Dollhouses, Sunshine Shop (Three Gables House), tutorials

How To Do A Textured Drywall Wall In Dollhouse Scale

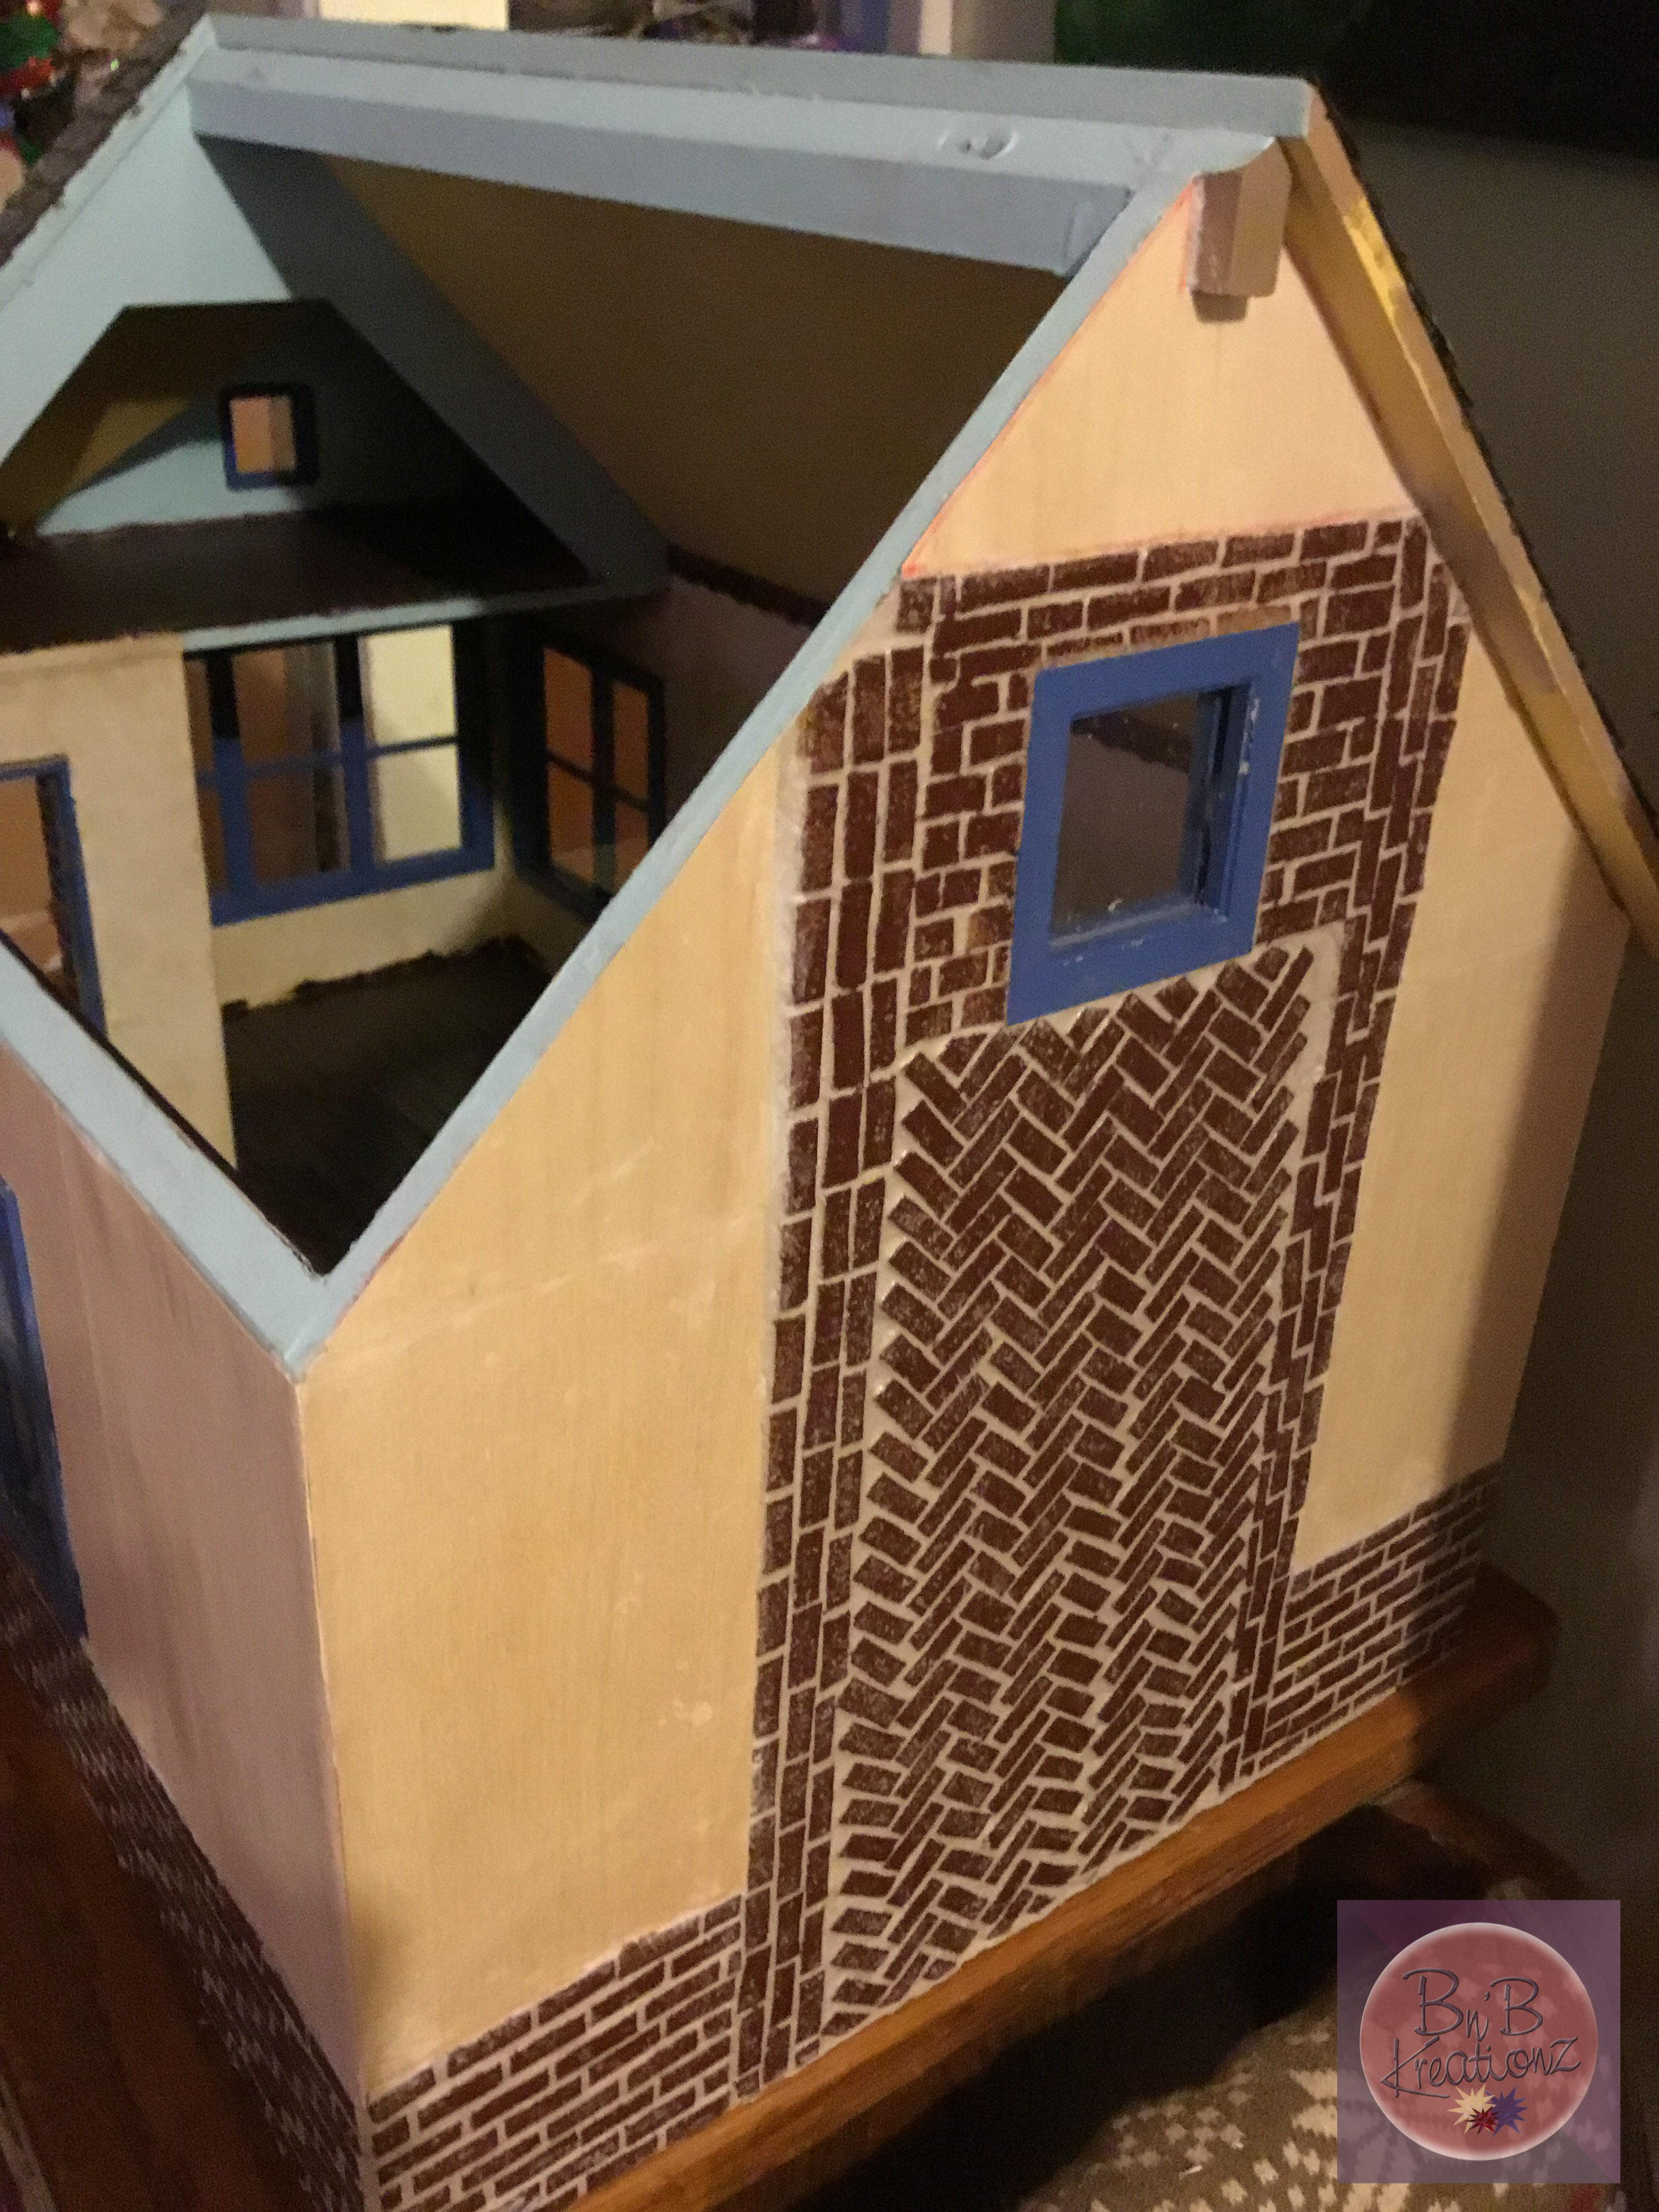
It’s been ages since I’ve gotten a chance to post something to the blog, summertime seems to make everything  get busier. Any who, I finally got a chance to work on our in-progress house, and I wanted to show you how I made the statement wall in it. (Feel free to ask questions if you have them!!)

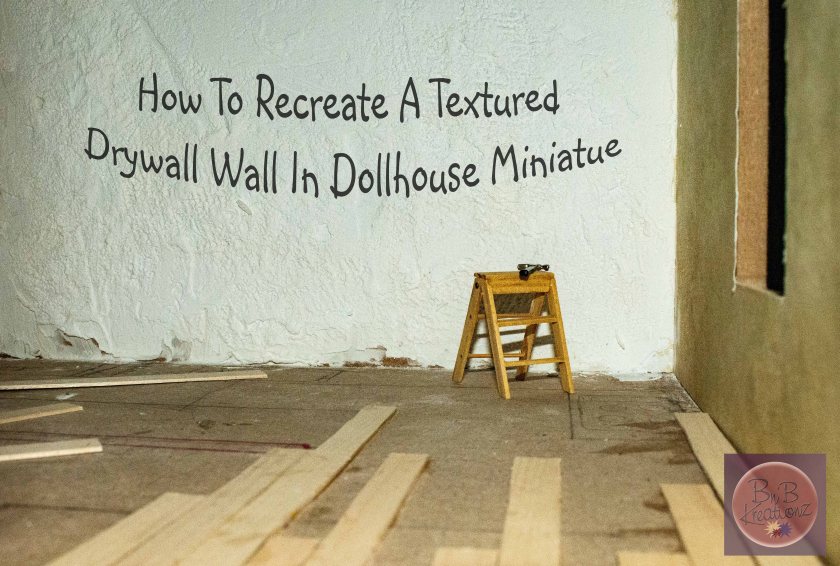
So on to the tutorial, of how to make a dollhouse textured drywall or plaster wall.

So to do this I used Spackling Compound, you could use something similar like joint compound, but Spackling Compound is lighter in texture so I went with that for the look I was going for.plaster wall bakery-0524

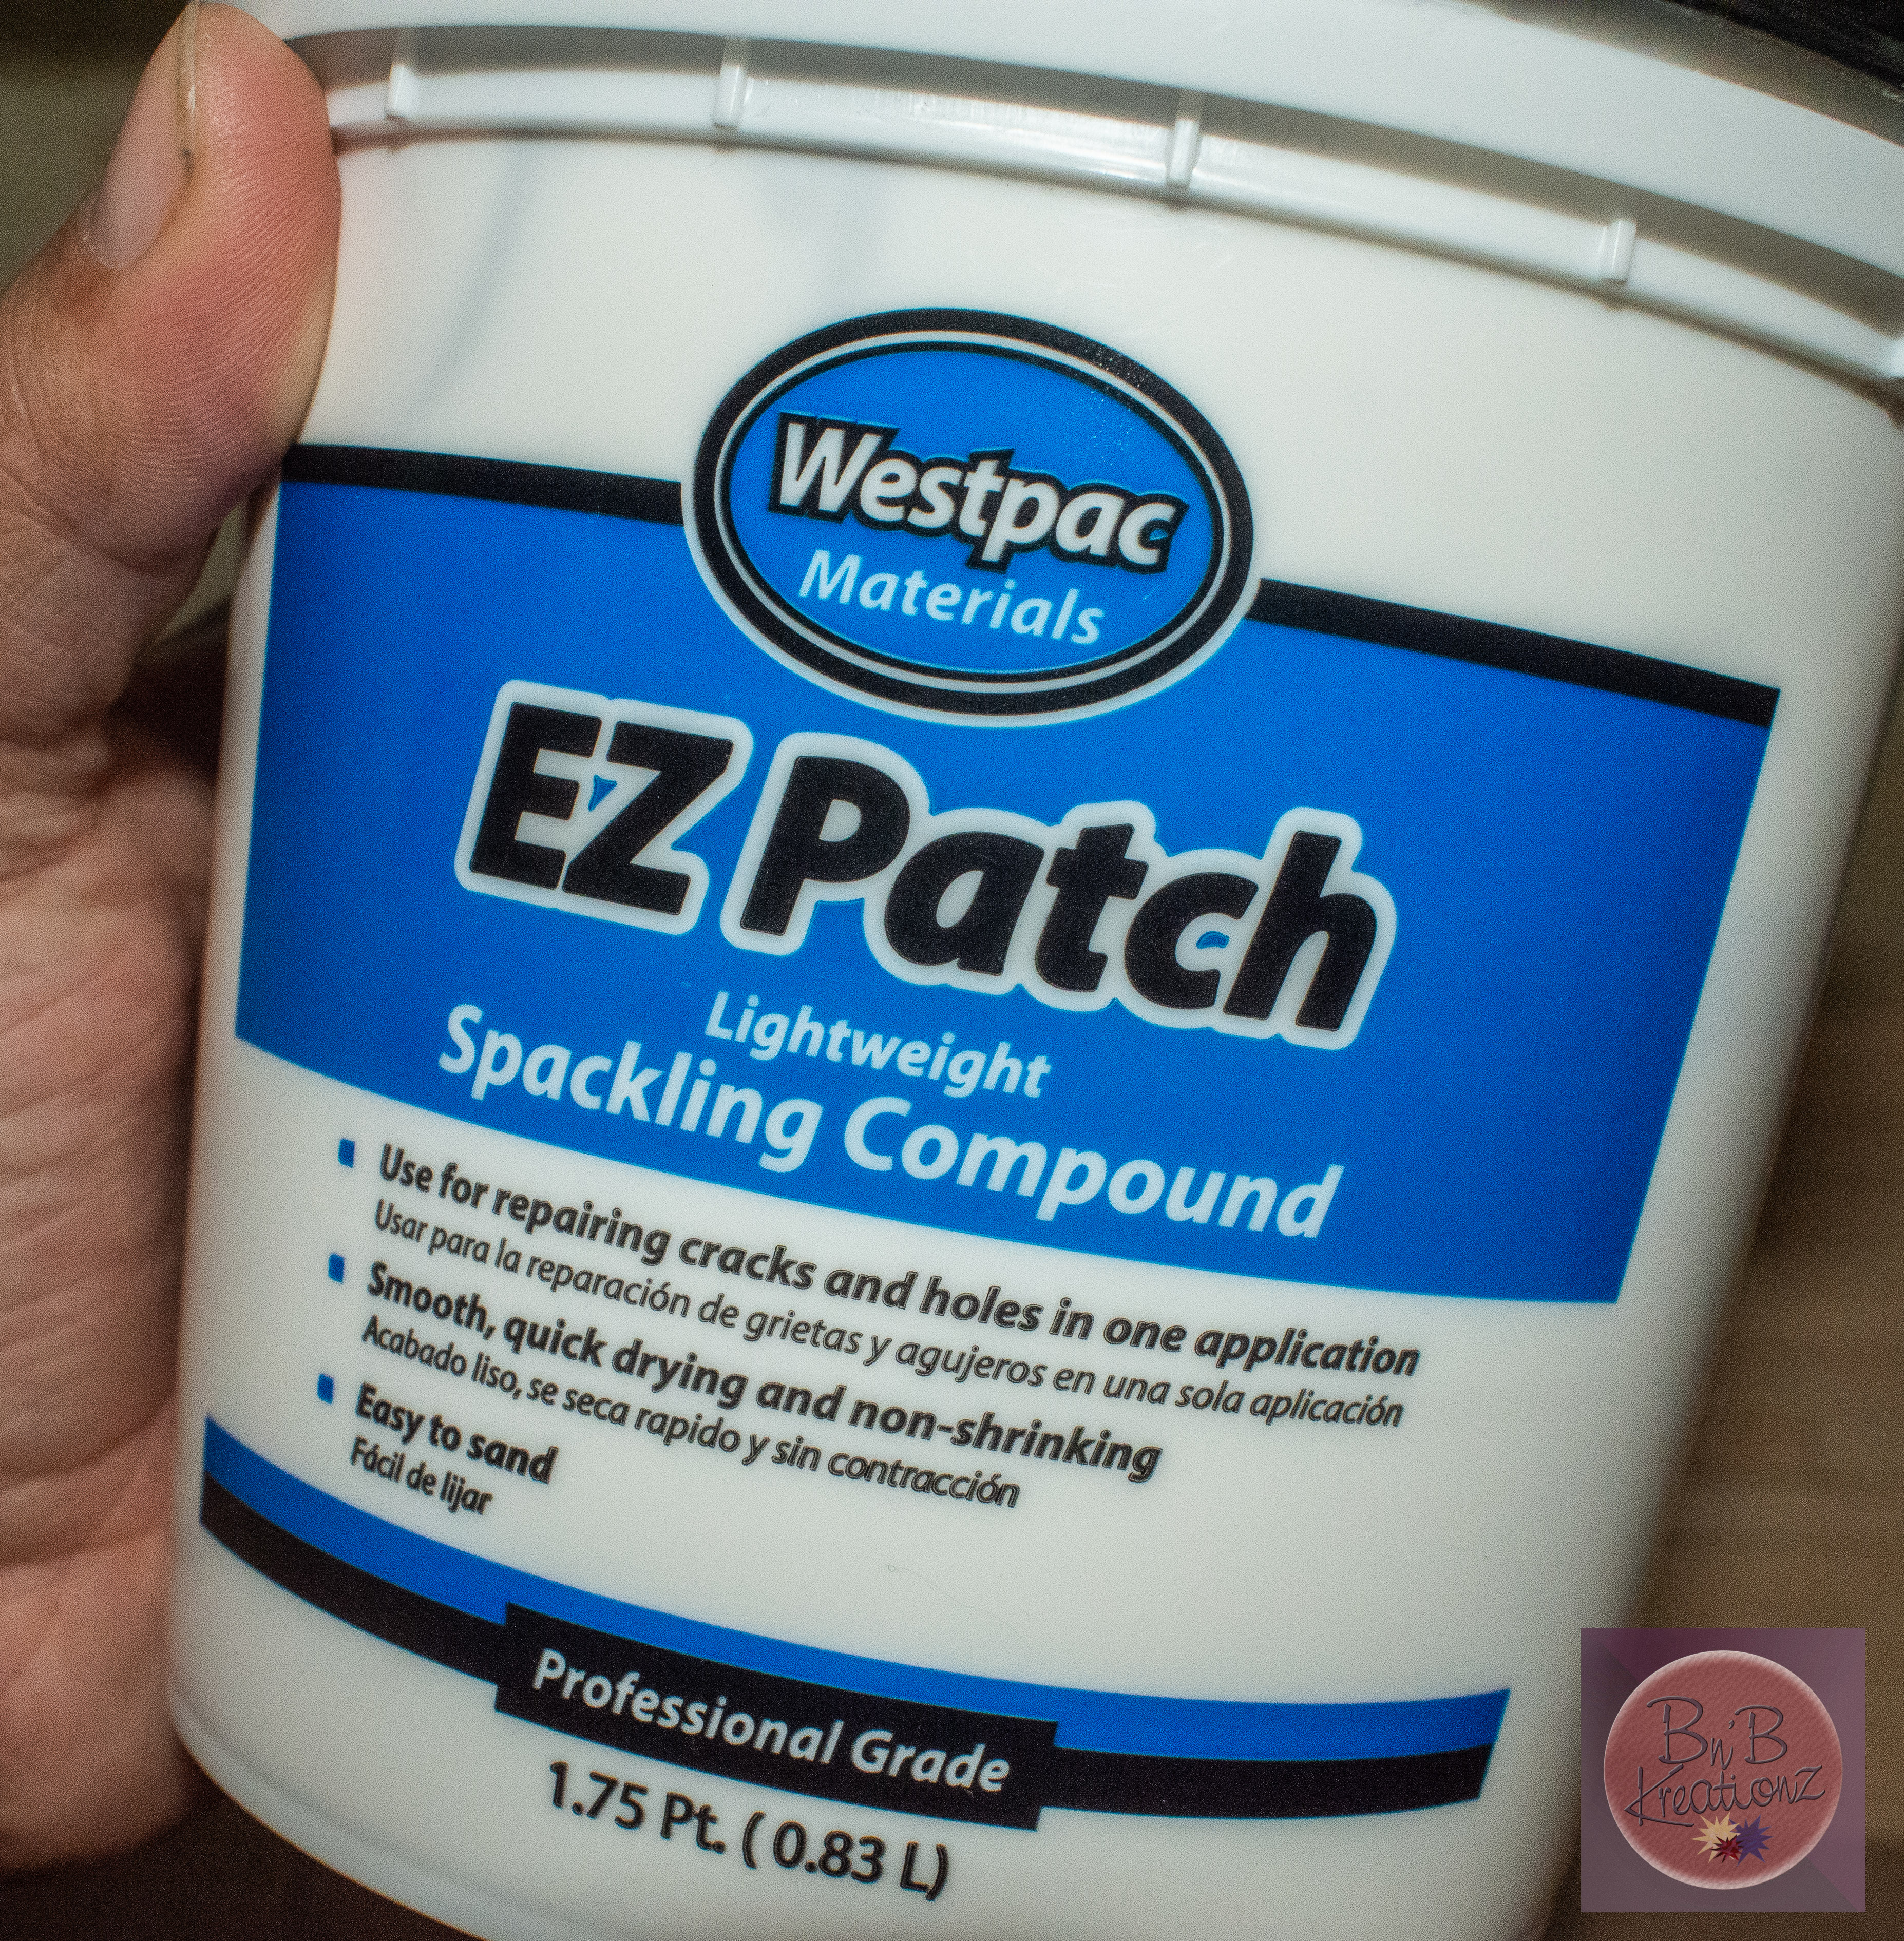
You will also need a putty knife (or something stiff you can wipe off), sandpaper (I used 220), something to create the texture (I used an old wash cloth), paper towels (for clean up), wax paper or something similar (to protect your work surface), some paint primer (to prime and protect the wall and get it ready to add color), and some paint (if you want it colored).

To get started make sure your work surface is protected and get your putty knife and Spackling Compound out. To begin with I applied a thin layer of the compound and just made sure it covered the entire wall and let it dry. I then sanded the wall smooth, do be careful doing this since the dust isn’t real good for you to breath.

plaster wall bakery-0514

Once it was smoothed to my liking, and the dust vacuumed up, I went in applied another coat of the compound. I made it a hair thicker than last time so that the texture had a better chance of showing and imprinting in deeper. So once I had as even a layer as I could get I took the washcloth and started dabbing it on the wet wall till I got a result I liked. Like I said you can use almost anything to texture, it just depends on the look you want it the end. This is the texture of the wash cloth I used if you where curious.

plaster wall bakery-0522

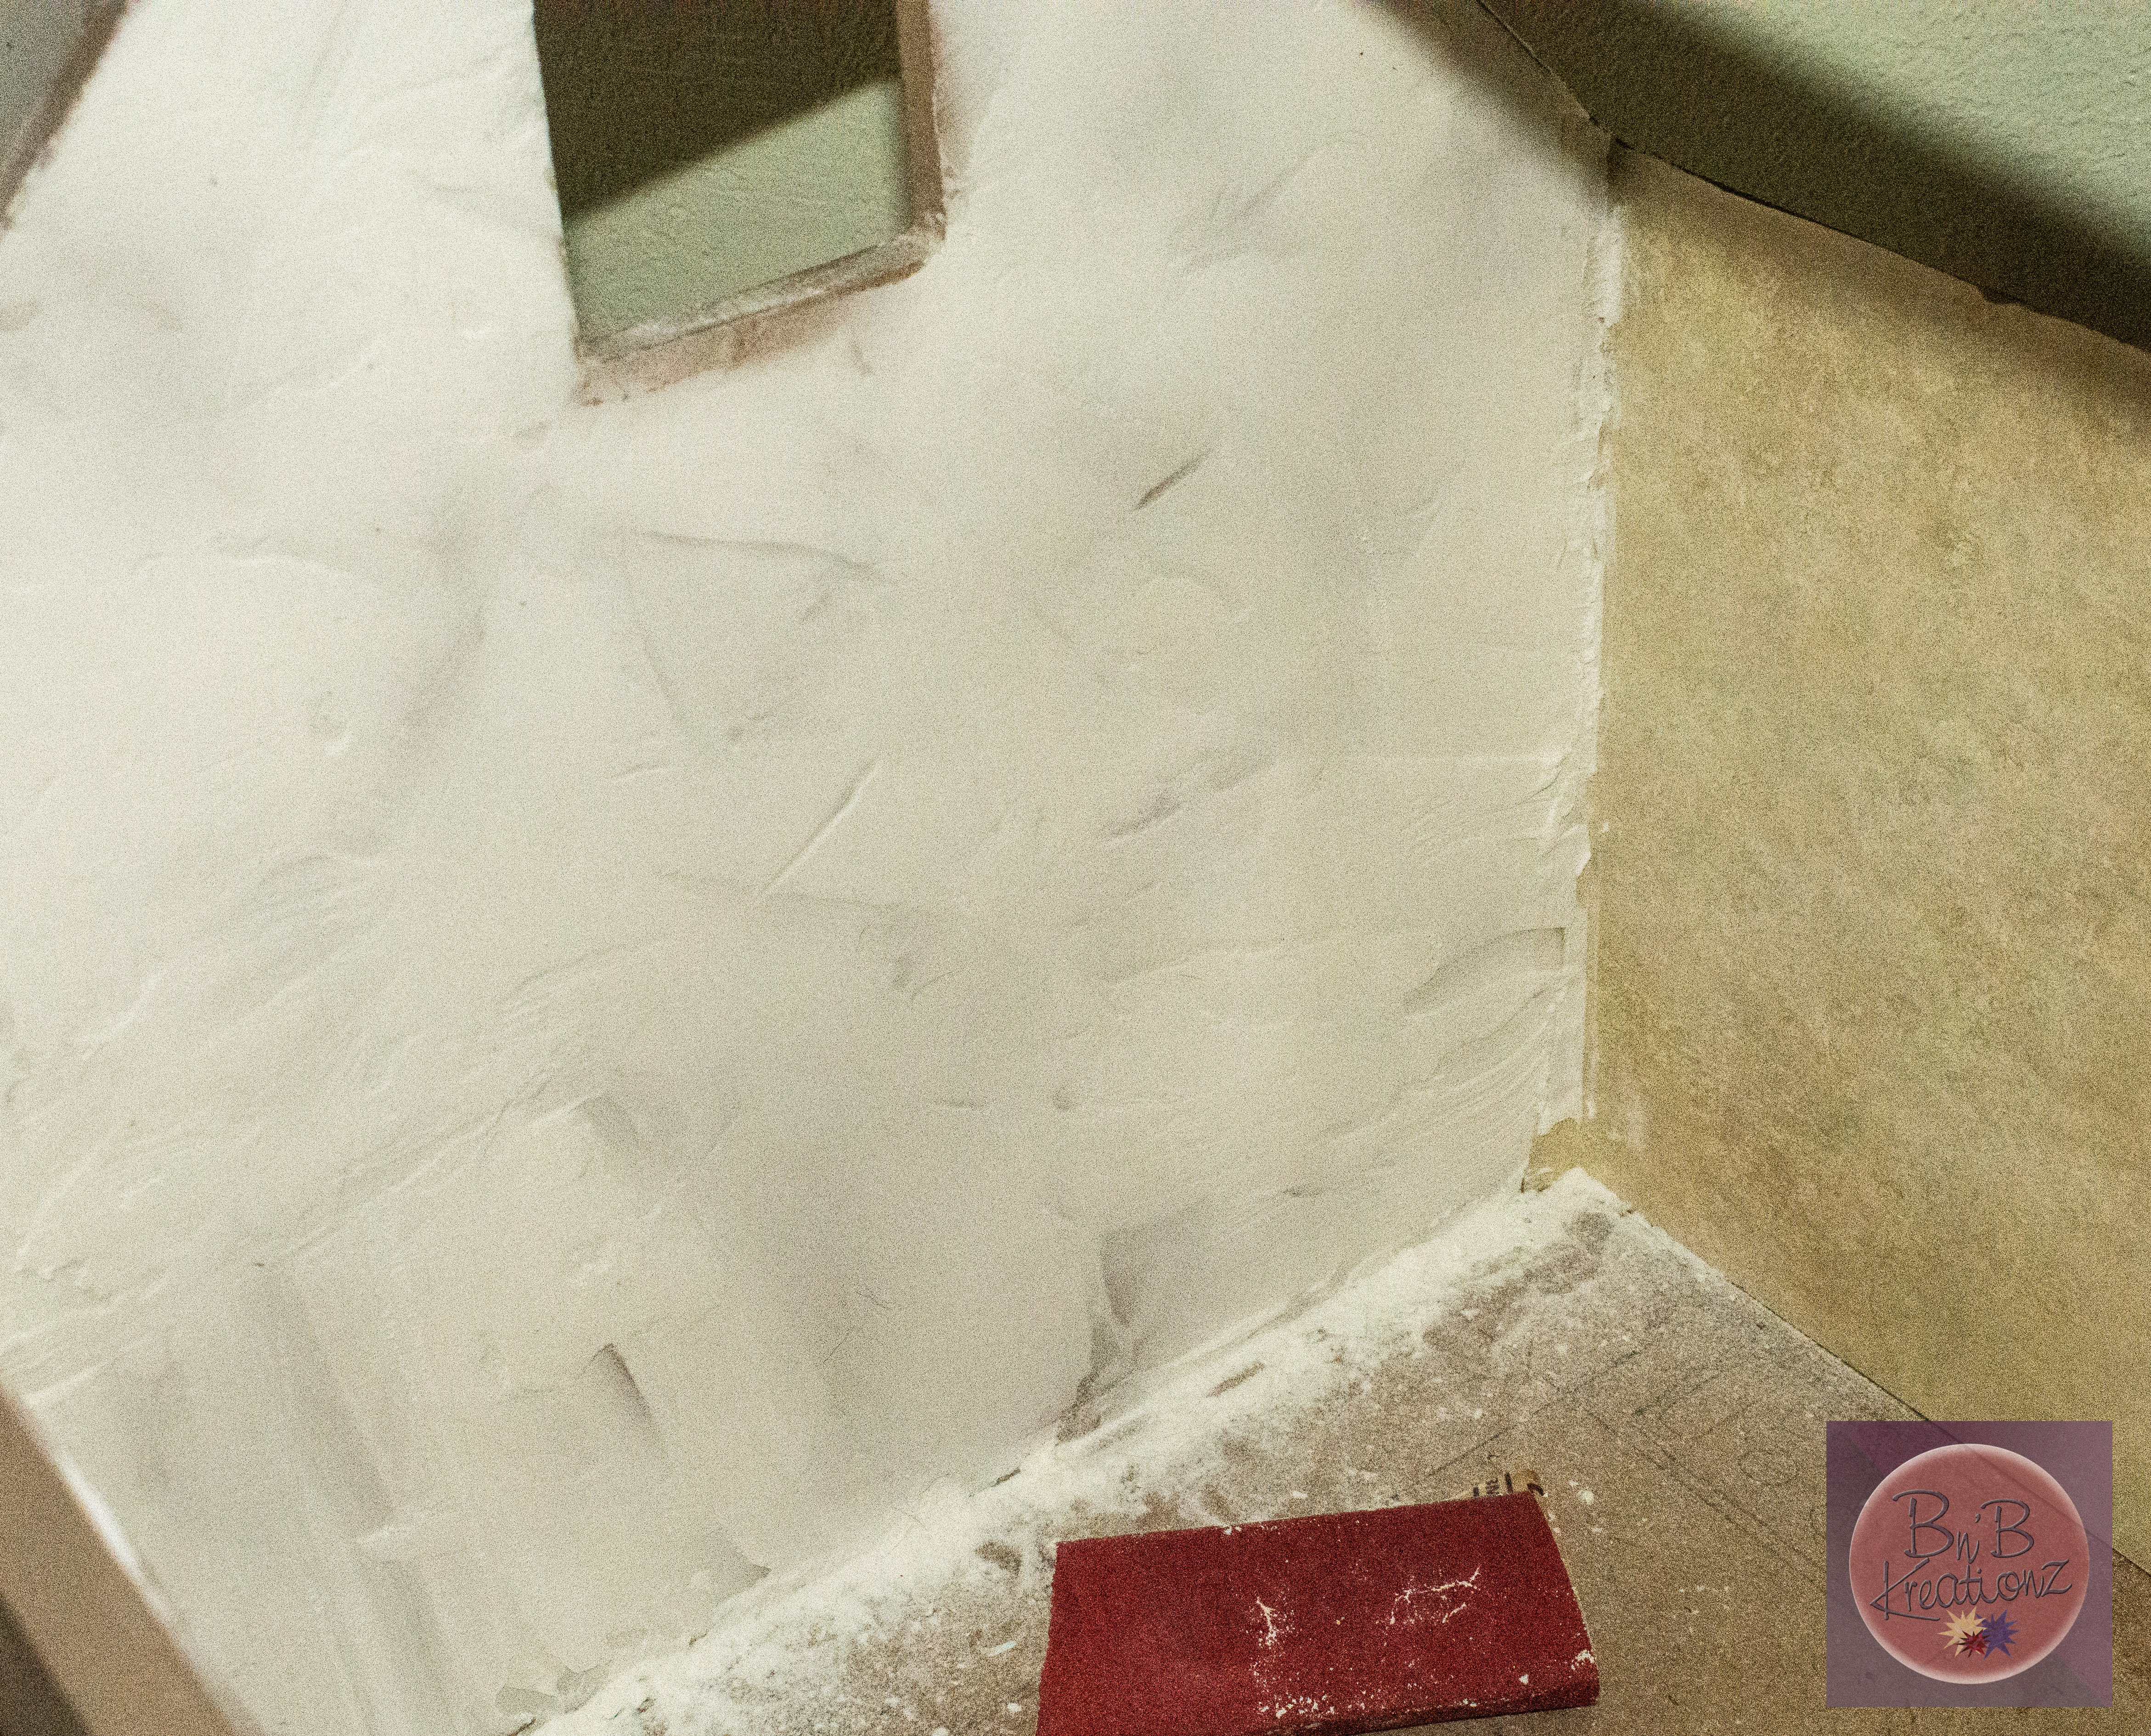
Now I did lightly sand the wall again after I textured to knock of any really high points, and to bring it all together as a whole wall but that is entirely up to the person doing it and how it looks to you. Here it is before I sanded…

plaster wall bakery-0518

Now once its to where you want it to look you go in and add primer to it. The primer will help protect the primer from getting dirty and from moisture, it also will get it ready for painting so it doesn’t “eat” your paint.

Here it is after sanding and primer!!

plaster wall bakery wall-0520.jpg

I really like how it turned out and I hope this tutorial will help you in your own mini adventures!!

~Briana Signing Off

Posted in Mini Finds

Mini Find Monday: Schliech Puppies

Today’s Mini Find Monday is a cute addition to the 1:12 scale family. I feel that every dollhouse needs some kind of animal, it helps to bring life into the house or miniature scene. Now some of the animals you buy for the dollhouses can be quite expensive, and most of them are quite fragile, I don’t know how many times I’ve had to repair a little cat tail… Now in my wanderings I ran across these two little cuties.

Now I’ve known about this brand for a very long time, my younger sister used to have quite a collection. They are a German brand that makes many different types of animals, and since they a children’s toy brand are made out of a hard plastic so they can’t break.

mfm schliech puppy-2614

The puppies that I found where the German Shepard and the Labrador Retriever. These two came from the Tractor Supply Company, for under $5.00 a piece, I can’t remember the exact price, but I know it was under $5.

They are the perfect size for 1:12 scale, with being  about an inch and a half tall and about two inches long. Here’s some close ups…

These are probably my favorite of all my Mini Find Monday finds, and highly recommend them myself. They are just soooo cute!

~Briana Signing Off

Posted in DIY's & How-To's, tutorials

Tutorial Time: Flamingo Pot

I decided to take the flamingos from Mini-Find Monday and make some beachy yard decor for our mid-century bungalow.  They turned out really cute and where super easy to make!

tutorial flamingo pot-2501

Supplies Needed:

*Plastic flamingo swizler sticks (bought at Target in the party section)

*Small buckets ( bought at Hobby Lobby)

*Small seashells (also bought at Hobby Lobby)

*Sand

*Glue ( I used Aleene’s Tacky Glue)

*Small cup for mixing sand and glue

*wood stirrer for mixing

*Small pliers (for removing bucket handles)

*Hack saw ( for cutting off sticks on flamingos)

*Sharpie or any permanent marker

I first got the flamingos ready by cutting off the excess plastic stick with the hack saw. I did varied heights since I was making three.  The plastic sticks cut easily. I did use a small piece of sand paper to smooth off the rough edge after cutting.

tutorial flamingo pot-2502

I then took the black permanent marker and colored the beaks and eyes.

tutorial flamingo pot-2503

The next step was to take the handles off the buckets.  I used the mini-pliers to bend the handle and it came right off.  Then I bent down the tabs the handle was through to the inside of the bucket. I was able to bend the tabs with my fingers.

tutorial flamingo pot-2505

Mix glue and sand together to desired consistency.

tutorial flamingo pot-2506

Fill buckets with sand mixture and place flamingos in the center and arrange small sea shells around the top of the bucket.

In an hour or less you have a summery decoration for the outside of your dollhouse!!

~Beth, Signing Off